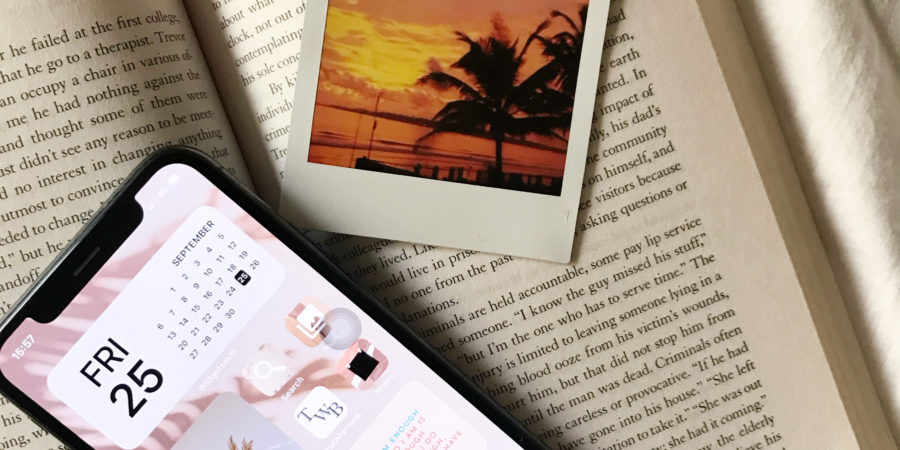

So I updated my phone to iOS 14 and thought would share how I customized it here. The user interface is better, there is an app library, you can make a gif and even the camera performance has improved. (or so apple claims. Still have to use it a couple time to comment) But that is not the reason why I was so excited for this update.
I love organizing and decluttering my phone so image my excitement because you can now customize the widgets, create your own home screens and even hide certain apps from the screen without having to delete them or put them in a folder. I have always hated having multiple apps on the home screen but now thanks to this update, I can easily create my own aesthetics and create a (or many) pages with a cleaner look.
Listed below are the simple steps to create your own page:

Step 1:
Firstly, of course update your iPhone to iOS 14 and then download the applications ‘Shortcuts’ and ‘Widgetsmith’. Apple does provide you with some widgets but you won’t be able to customize it. Hence Widgetsmith.
Update iOS 14> Download Shortcuts and Widgetsmith
Step 2:
Before you move on to editing the widgets and setting customized covers, make sure you declutter your phone. You can move the applications that you do not use frequently into the app library giving the screens a neater look. Or, if you are someone like me who has spent a lot of time placing the applications on home screen in a manner that makes sense to you, then just click on the dots above the dock and select the pages. Your applications will be there as it is but hidden.
Declutter all the applications.
Step 3:
Okay, I cannot stress on how important it is to select your aesthetic before hand. You can do different aesthetics for different pages but make sure you have an idea for what you want. I honestly didn’t. And ended up doing all these steps twice. You can check my home screen aesthetics HERE.
Select your aesthetic.

Step 4:
To get those big widgets, open Widgetsmith and select the size you want. Next, click on the widget and you can choose which feature you want for. Also choose your font style, color, background color and save the changes.
Open Widgetsmith> select widget size> select feature> select font style, tint & background color.
Step 5:
Once happy with the widgets, select and hold any random app on your home screen and then click in the ‘+’ sign on the top left corner and scroll to the booth of the page. Select widgetsmith, choose your widget and select done. Press and hold any application and select ‘edit widget’. Now choose the ‘widget #’
Hold random app on home screen> select ‘edit home screen > click on ‘+’ on the top left corner> scroll to bottom> select widgetsmith> choose widget> add widget> done.
Hold down the widget > select ‘edit widget’> choose widget ‘#’.

Step 6:
*Now go to Shortcuts and select the ‘+’ to create a new shortcut. Select ‘Add Action’ and then ‘scripting’. Go to open apps and select the app of your choice. Select the three dots on the right, name your widget and then click on ‘add to home screen’. Again type in the name you want and click in the icon right next to it. From here you can select an image that will be the cover of your app.
Open Shortcuts> select ‘+’> add action> scripting> open app> select app> click on three the dots> add name> add to home screen> type in the name> click on icon> choose image> done.
You can also personalize the icon cover, just open Canva or any editing app of choice and select the square layout. Add image of choice and then click on the ‘+’. Select illustration and search for the one you want. Now add this to your image, adjust the size and color and save it. Continue from *
Open Canva> select square layout> add image> click ‘+’> illustrations> search> add> adjust color and size> save> open Shortcuts………> done.
Step 7:
Okay, now that everything is ready, just reorganize it as per your likes have it all customized.
Hope this helps!